Sharp and Ready: How to Use a Chef’s Choice Sharpener
Table of Contents
ToggleIntroduction
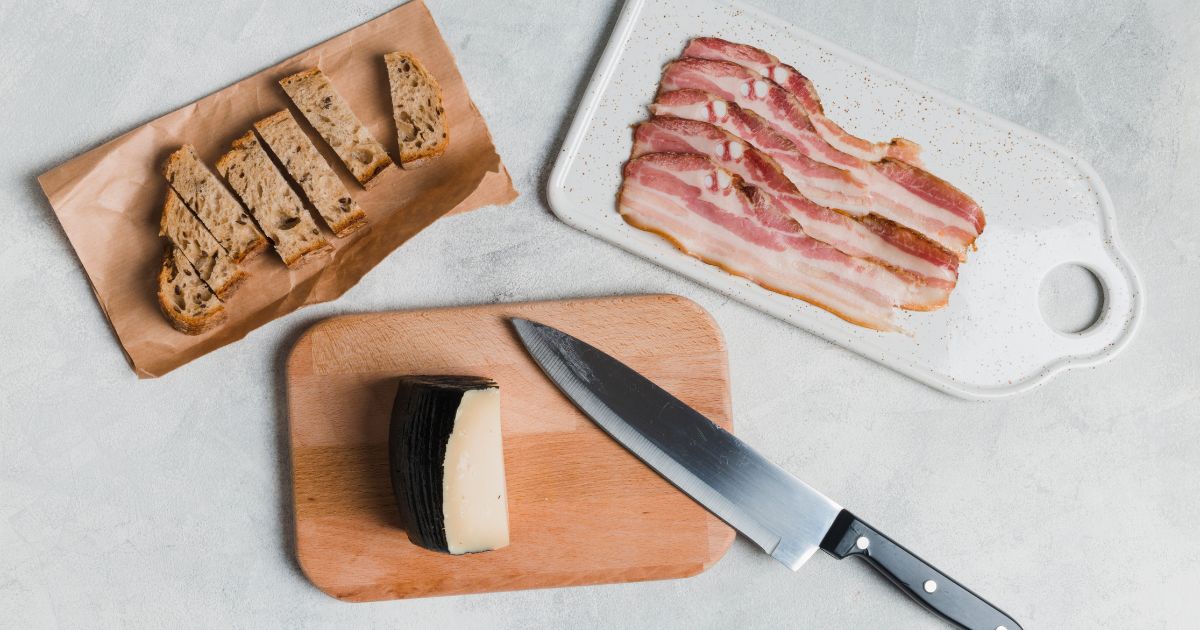
In the heart of every well-equipped kitchen lies an indispensable tool – the chef’s knife. It’s care and good organization are the keys to cooking mastery, making it a chef’s neighbouring friend. However, the very soul of these knives lies in their quickness, an excellence that reduces over time with steady use.
In the heart of every well-equipped kitchen lies an indispensable tool – the chef’s knife. It’s care and good organization are the keys to cooking mastery, making it a chef’s neighbouring friend. However, the very soul of these knives lies in their quickness, an excellence that reduces over time with steady use
What is a Chef's Choice Knife?
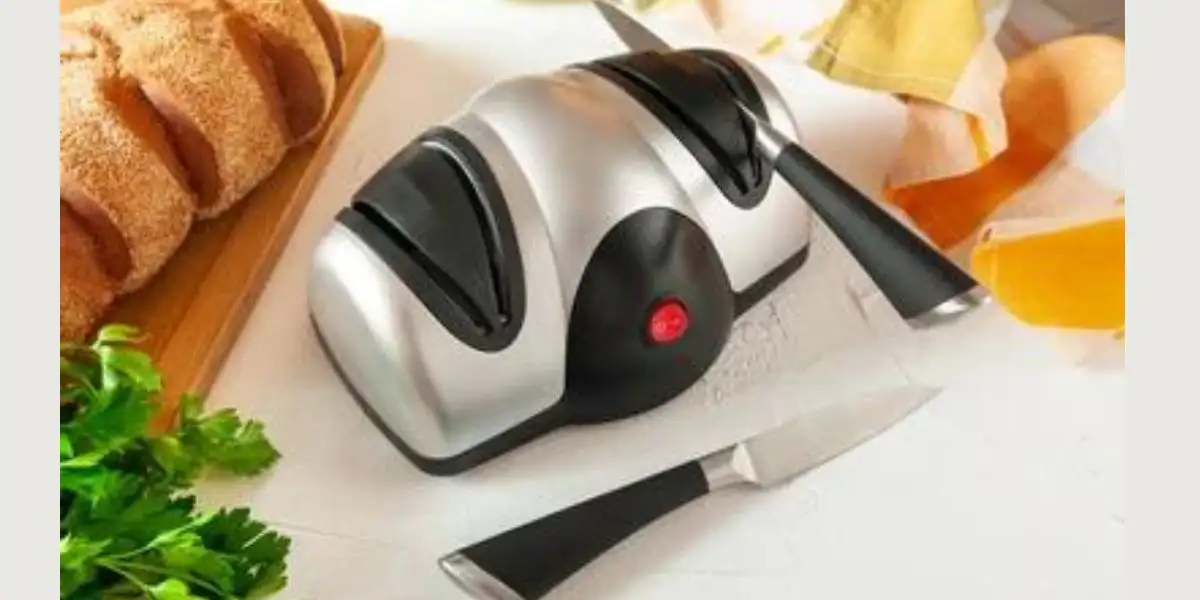
- Understanding your Chef’s Choice Knife Sharpener is crucial to unlocking its full potential and ensuring the longevity of your kitchen knives. Chef’s Choice offers a range of models, each equipped with specific features designed to cater to various sharpening needs. The key components of the Chef’s Choice Knife Sharpener include sharpening slots, angle guides, and abrasive materials.
- The sharpening slots are where the magic happens, providing the platform for restoring your knife’s edge. These slots are strategically designed with different stages of abrasives, typically ranging from coarse to fine. The coarse stage is ideal for tackling dull blades, while the fine stage caters to regular maintenance. Some models also include a honing stage for refining the knife’s edge between sharpening sessions.
- Angle guides are another critical component, ensuring that you maintain a consistent angle while sharpening your knife. The correct angle is vital for achieving an optimal edge, and Chef’s Choice Knife Sharpener simplifies this process by providing preset angles for various types of knives.
- Lastly, the abrasive materials, often in the form of sharpening stones or diamond abrasives, are responsible for removing metal from the knife blade and reshaping it to its original sharpness. Understanding these components and their functions empowers you to choose the right stage, set the appropriate angle, and effectively use your Chef’s Choice Knife Sharpener for impeccable knife maintenance.
Are you ready to prepare your knife for sharpening?
Inspection of the knife:
Identify Dull Blades: Examine the blade for signs of dullness. Dull knives can lead to imprecise cuts and increased kitchen accidents.
Check for Nicks or Damages: Inspect the blade for any nicks, chips, or damages. If present, these issues may require more than routine sharpening.
Cleaning the knife:
Remove debris or residues: Wipe the blade with a damp cloth to remove any food residues, oils, or debris.
Wiping the Blade Clean: Dry the knife thoroughly after cleaning to prevent any moisture from affecting the sharpening process.
Have you chosen the appropriate stage for your knife?
Selecting the appropriate stage when using your Chef’s Choice Knife Sharpener is essential for achieving the desired sharpness and prolonging the life of your knives. The sharpener typically offers different stages, each serving a specific purpose. Here’s how to choose the right stage for your knife:
Coarse Sharpening (Stage 1):
When to Use: Choose the coarse sharpening stage if your knife is noticeably dull, has nicks, or requires significant edge restoration.
How It Works: This stage employs coarse abrasives to remove a substantial amount of metal, reshaping the blade and creating a new, sharp edge.
Fine Sharpening (Stage 2):
When to Use: Opt for fine sharpening for regular maintenance and honing. This stage is suitable for maintaining a sharp edge on knives that are not severely dull.
How It Works: The fine-sharpening stage uses finer abrasives to refine the edge, providing a smoother finish and enhancing the sharpness of the blade.
Honing (Additional Honing Stage, if available):
When to Use: Use the honing stage regularly between sharpening sessions to keep the knife’s edge aligned and sharp.
How It Works: The honing stage is designed to realign the microscopic burrs that naturally occur during regular knife use. It helps maintain the edge without removing significant amounts of metal.
How can we sharpen the knife?
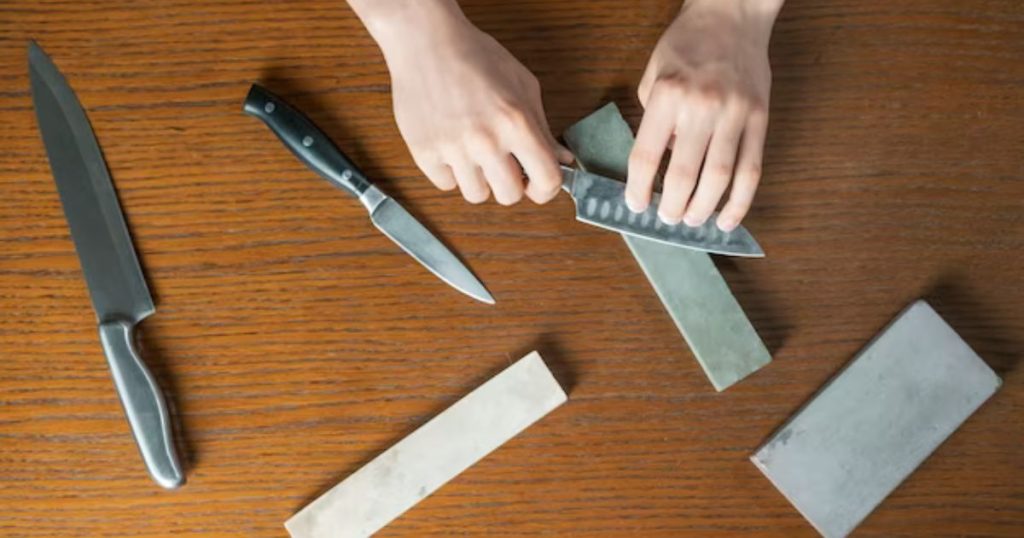
Sharpening your knife with a Chef’s Choice Knife Sharpener involves a systematic approach to ensure optimal results
Step 1: Set Up and about the Sharpener
Place the Chef’s Choice Knife Sharpener on a stable surface.
Ensure the sharpener is clean and free of any debris from previous sharpening sessions.
Step 2: Inspect the Knife
Examine the knife for dullness, nicks, or other damages.
If the knife is severely dull, consider starting with the coarse sharpening stage.
Step 3: Select the Appropriate Stage
Choose the sharpening stage based on the condition of your knife.
Coarse sharpening (Stage 1) for dull or damaged knives
Fine sharpening (Stage 2) for regular maintenance
Step 4: Set the Angle
If your Chef’s Choice model has adjustable angle settings, set it according to the manufacturer’s instructions.
If the sharpener has preset angles, ensure your knife aligns correctly with the guide.
Step 5: Place the Knife in the Slot
Insert the heel of the knife into the sharpening slot, ensuring it rests against the angle guide.
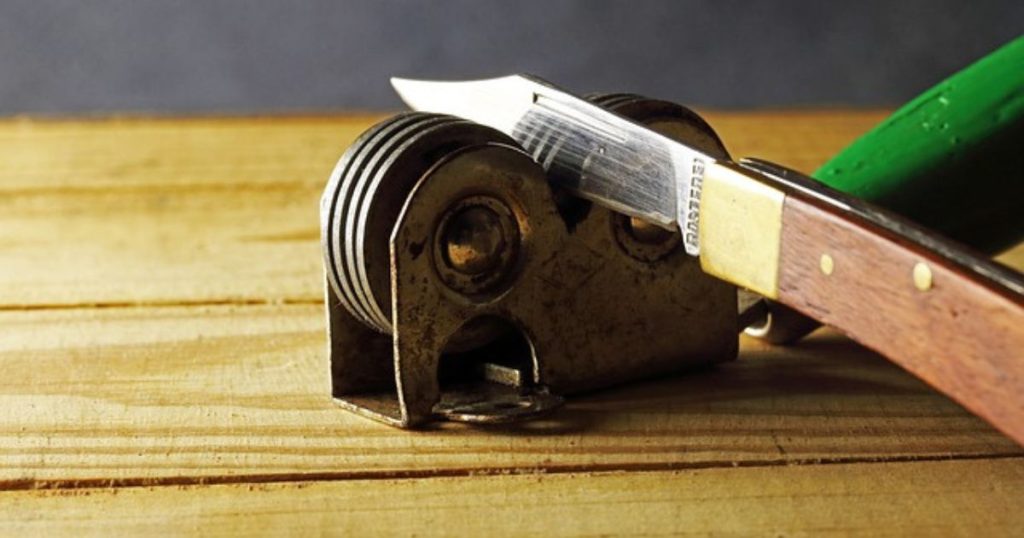
Step 6: Pull the Knife Through the Slot
With a smooth and consistent motion, pull the knife through the slot towards you.
Maintain steady pressure, and let the Chef’s Choice sharpener do the work.
Step 7: Repeat as Necessary
Repeat the process as needed, depending on the initial condition of your knife.
If using multiple stages, progress from coarse to fine sharpening for a polished edge.
Step 8: Hone (Optional)
If your Chef’s Choice model includes a honing stage, use it to refine the edge between sharpening sessions.
Follow the manufacturer’s instructions for the honing process.
Step 9: Clean the Knife
Wipe the knife clean to remove any metal particles or debris.
- Step 10: Inspect the Edge
Carefully inspect the knife’s edge for sharpness and consistency.
Cleaning the Chef's Choice Knife Sharpener
Cleaning your Chef’s Choice Knife Sharpener is crucial to maintaining its efficiency and prolonging its lifespan. Regular cleaning helps prevent the accumulation of metal shavings and debris, ensuring a smooth sharpening process. Here’s a guide on how to clean your Chef’s Choice Knife Sharpener:
Materials Needed:
A soft brush or vacuum cleaner
Damp cloth
Mild dish soap (if necessary)
Q-tips or cotton swabs (optional)
Step 1: Unplug the Sharpener
Before cleaning, ensure that the Chef’s Choice Knife Sharpener is unplugged or disconnected from the power source to avoid any accidents.
Step 2: Remove Residual Metal Shavings
Use a soft meeting or a space domestic worker to take away metallic flakes and remains from the sharpening spaces.
Step 3: Spread down the External
Dampen a cloth with water and wipe down the exterior of the sharpener. This helps remove any fingerprints, grease, or dirt that may have accumulated during use.
Step 4: Clean the Sharpening Slots
If your sharpener allows for it, you can use Q-tips or cotton swabs to reach into the sharpening slots and clean any hard-to-reach areas. Be gentle to avoid damaging the abrasives.
Step 5: Check for Residue
Inspect the sharpening slots and the surrounding areas for any stubborn residue. If needed, you can use a damp cloth with mild dish soap to gently clean these areas.
Step 6: Allow to Dry
Ensure that all components are completely dry before using the sharpener again. This prevents any potential issues associated with moisture.
Step 7: Clean the Honing Stage (if applicable)
If your Chef’s Choice model includes a honing stage, follow the manufacturer’s instructions for cleaning this component. This is typically a straightforward process and contributes to maintaining the overall sharpness of your knives.
Step 8: Regular Maintenance
Schedule regular cleaning sessions to prevent the buildup of debris. This ensures a consistent and effective sharpening experience each time you use the sharpener.
What are common issues and their solutions?
Encountering common issues with your Chef’s Choice Knife Sharpener can be frustrating, but many problems have simple solutions.
Uneven sharpening:
Issue: The knife is not being sharpened evenly, resulting in an uneven edge.
Solution: Ensure that you maintain a consistent and controlled motion while pulling the knife through the sharpening slot. Pay attention to your hand pressure to prevent tilting. If the issue persists, check the alignment of the knife in the slot and adjust if necessary.
Excessive noise:
Issue: The sharpener is making more noise than usual during the sharpening process.
Solution: Excessive noise can be a sign of misalignment or debris in the sharpening slots. Go off the sharpener, unblock it, and review the slits for any blocks.
Difficulty in Pulling the Knife Through:
Issue: The knife seems to drag or catch as you pull it through the sharpening slot.
Solution: Check for any visible obstructions or metal shavings in the sharpening slot. Clean the opening and look at the knife for any indiscretions. If the problem keeps up, confirm that you’re using the right slit for the type of knife you have.
Ineffective sharpening:
Issue: The knife doesn’t seem to be getting sharper despite multiple passes through the sharpener.
Solution: If the knife is not responding to the present phase, try using a rougher stage (if available) for the first sharpening, particularly if the cutting edge is very cloudy.
Angles not consistent:
Issue: The sharpener isn’t maintaining a consistent angle, leading to uneven sharpening.
Solution: Double-check that your knife is properly seated in the slot against the angle guide. If your model allows for angle adjustments, ensure it is set correctly. Consistency in angle is crucial for achieving an even edge.
Conclusion
In conclusion, mastering the art of knife sharpening with the Chef’s Choice Knife Sharpener is a journey that elevates both your culinary skills and kitchen efficiency. . By understanding the importance of proper preparation, selecting the right stage, and following a systematic approach, you unlock the full potential of this tool.
Regular maintenance, including cleaning and troubleshooting, ensures a consistent and reliable performance. The Chef’s Choice Knife Sharpener proves to be an indispensable asset in the kitchen, empowering you to create with confidence and precision, one sharp blade at a time.
FAQS
How often should I sharpen my knives with the Chef’s Optimal Knife Sharpener?
- It depends on the frequency of knife use. For regular home kitchen use, sharpening every 2–4 weeks is generally sufficient. However, more frequent sharpening might be needed if you use your knives extensively.
Can I sharpen different types of knives with the Chef’s Choice sharpener?
- Yes, chef’s choice; sharpeners have the capability to be used for other types of knives because of their straight edges.
Do I need to clean the Chef’s Choice sharpener after each use?
- It’s advisable to clean the sharpener regularly to prevent the build-up of metal shavings and debris, which can affect performance. A quick cleaning after each use and a more thorough cleaning periodically are recommended.
How do I know if the abrasive pads in the sharpener need replacement?
- When a chef’s choice knife is used, sometimes abrasive pads become rare. and its sharpness also decreases. You must be careful about keeping an eye on the condition of the abrasive pads. Can I adjust the sharpening angle on the Chef’s Choice Knife Sharpener?
- Depending on the specific model, some Chef’s Choice sharpeners allow you to adjust the sharpening angle, while others have preset angles. Check the user manual for your particular model to determine if and how angle adjustments can be made.